

In today’s world, laptops are indispensable tools for work, education, entertainment, and much more. However, like all electronics, laptops have a finite lifespan, and with daily use, they can wear down over time. At RockIT Repairs, we specialize in helping you get the most out of your laptop by offering expert repair services and recommending timely upgrades that can extend its useful life.
If you’re looking to prolong your laptop’s lifespan, this guide will explore the benefits of regular repairs, essential upgrades, and the simple steps you can take to keep your device running smoothly for years to come.
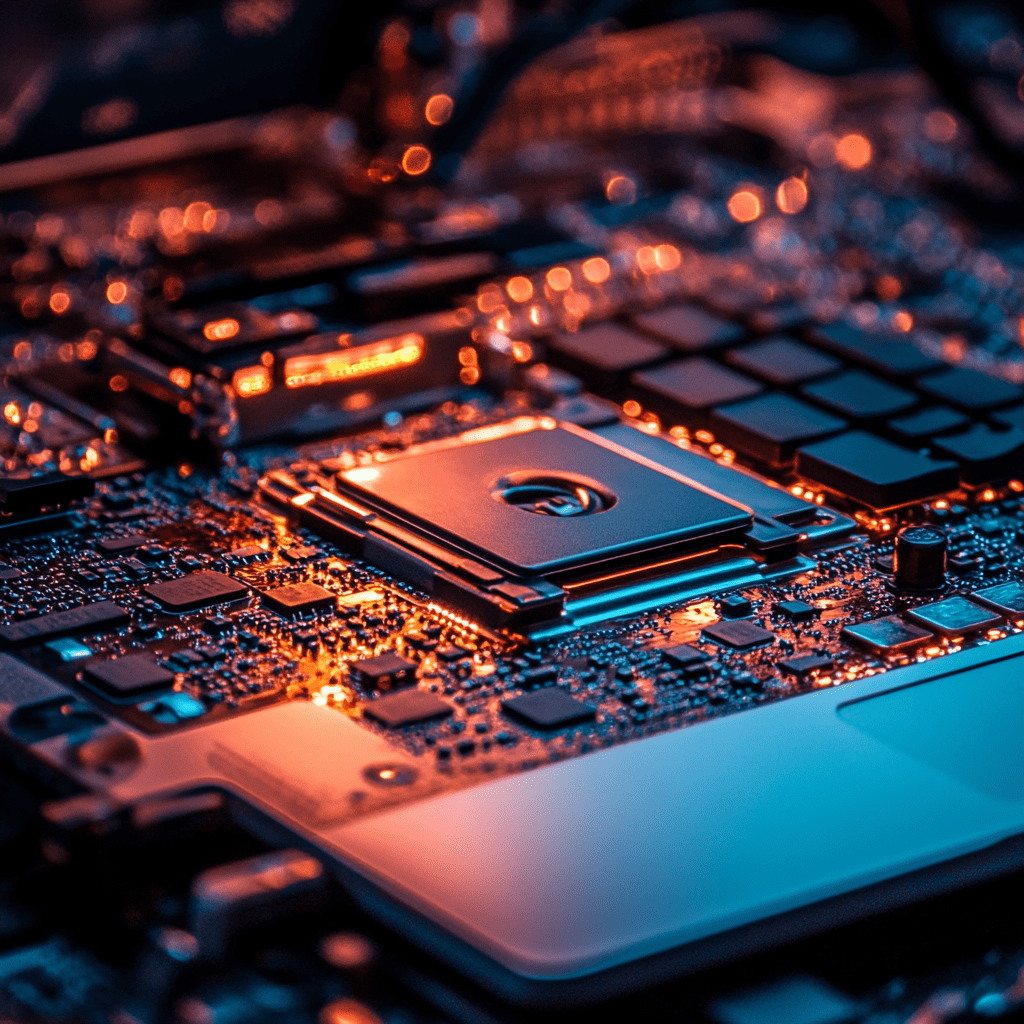
Why Do Laptops Deteriorate Over Time?
Laptops are complex machines made up of several sensitive components. Over time, the constant use, exposure to heat, dust, and physical wear and tear can cause these components to degrade. Common issues include:
- Slowing performance due to outdated hardware or software bloat.
- Overheating caused by dust buildup or inefficient cooling systems.
- Battery degradation, which leads to shorter battery life and frequent recharges.
- Wear and tear on the keyboard and screen from daily use.
While laptops are built to last several years, ignoring regular maintenance and repairs can drastically shorten their lifespan. This is where periodic repairs and strategic upgrades come in.
Regular Repairs: The Key to Long-Term Performance
Many users only seek repairs when their laptop breaks down completely. However, regular maintenance can help prevent major issues before they start. Here’s how consistent repairs can improve your laptop’s longevity:
1. Cleaning the Internal Components
Dust and debris can accumulate inside your laptop over time, leading to overheating, fan failure, and damage to internal parts. Regular cleaning is essential for keeping your laptop cool and preventing hardware failure.
At RockIT Repairs, we offer professional internal cleaning services, removing dust from the fans, vents, and heat sinks to ensure your laptop runs at optimal temperatures. Keeping your laptop cool will reduce stress on the CPU and GPU, two of the most heat-sensitive components.
2. Battery Replacements
One of the most common laptop issues is battery degradation. Over time, your battery’s capacity to hold a charge will diminish, leading to shorter battery life. If you find yourself tethered to a charger all the time, it’s a sign that your laptop’s battery may need replacing.
Replacing your laptop’s battery can give your device a new lease on life, allowing you to work longer without being plugged in. At RockIT Repairs, we offer battery replacement services for a wide range of laptop models, ensuring you get back the mobility and performance your laptop had when it was new.
3. Keyboard and Trackpad Repairs
Frequent use of your laptop’s keyboard and trackpad can lead to wear and tear, with keys becoming unresponsive or sticking, and trackpads losing their sensitivity. In some cases, spills can also cause damage to these vital input devices.
Regular repairs to your keyboard and trackpad can improve your laptop’s usability and extend its lifespan. If you notice issues with either, RockIT Repairs can replace or repair them efficiently, saving you from the frustration of unresponsive keys or malfunctioning touchpads.
4. Screen Repairs and Replacements
Cracked or malfunctioning screens are a common issue, especially for laptops that travel frequently. A damaged screen not only hampers productivity but can also strain your eyes and affect the overall performance of your laptop.
Whether your laptop screen is cracked, flickering, or has dead pixels, RockIT Repairs can provide fast and professional screen replacement services to restore your display to its original clarity and functionality.
Essential Upgrades to Extend Your Laptop’s Lifespan
In addition to regular repairs, upgrading key components can significantly improve your laptop’s performance, helping it keep up with modern demands and giving it several more years of life. Here are the most impactful upgrades for boosting your laptop’s longevity:
1. Solid-State Drive (SSD) Upgrade
One of the best upgrades you can make to extend the life of your laptop is replacing the traditional hard drive (HDD) with a Solid-State Drive (SSD). SSDs are much faster, more reliable, and more energy-efficient than HDDs, leading to faster boot times, quicker file access, and overall improved system performance.
If your laptop is slowing down or struggling to keep up with multiple applications, an SSD upgrade can breathe new life into it. At RockIT Repairs, we can install high-quality SSDs, ensuring a seamless transition and a significant boost in speed and efficiency.
2. RAM Upgrade
Random Access Memory (RAM) is another critical component that affects your laptop’s performance. If your laptop is running slowly, especially when multitasking or running demanding applications, it may be time to upgrade your RAM.
Upgrading your laptop’s RAM allows it to handle more applications simultaneously, improving overall speed and reducing lag. This is particularly important for users who work with resource-heavy programs such as video editing software or gaming. At RockIT Repairs, we offer RAM upgrades for laptops, tailored to your needs and usage patterns.
3. Battery Upgrade for Older Models
If you’re using an older laptop, finding a replacement battery for your exact model can be challenging. However, RockIT Repairs can source compatible, high-quality batteries that extend your laptop’s usage time without needing frequent recharges.
4. Operating System and Software Updates
Keeping your laptop’s software up to date is crucial for both security and performance. Operating system (OS) updates often include important security patches and performance improvements that can help your laptop run more efficiently. If your laptop is running an outdated OS or old software versions, it may be more prone to crashes, slower speeds, and even security vulnerabilities.
At RockIT Repairs, we can update your laptop’s operating system and software to ensure it’s running the latest versions and has the protection it needs to operate smoothly.
Preventive Maintenance Tips to Extend Your Laptop’s Life
In addition to regular repairs and upgrades, there are several preventive maintenance steps you can take to keep your laptop in top shape. Here are some practical tips for extending the life of your laptop:
1. Keep It Cool
Heat is one of the biggest enemies of electronic devices. Make sure to keep your laptop’s cooling system working efficiently by using it on hard, flat surfaces, allowing airflow around the vents, and avoiding placing it on soft surfaces like beds or couches that can block ventilation.
Additionally, using a laptop cooling pad can help prevent overheating, especially if you use resource-intensive programs that put a strain on the CPU and GPU.
2. Manage Your Battery Wisely
To extend your battery’s lifespan, avoid keeping your laptop plugged in all the time. It’s a good idea to let the battery drain down to about 20% before recharging it, and unplug it once it reaches full capacity. Many modern laptops come with battery management tools to help prevent overcharging, but you can still practice good battery habits.
3. Use Antivirus and Security Software
Keeping your laptop safe from viruses, malware, and other security threats is essential for ensuring long-term performance. Install trusted antivirus software and run regular scans to keep your system clean and secure. This not only protects your data but also prevents slowdowns caused by malicious software.
4. Clear Out Unnecessary Files
Over time, your laptop can become bogged down by unnecessary files, old applications, and bloatware that slow down performance. Regularly clean out your system by removing unused programs, deleting old files, and clearing browser caches to free up space and improve speed.
5. Regular Backups
Backing up your data regularly is a must to prevent data loss in case of a system failure or unexpected event. Use an external hard drive or cloud storage to ensure that your important files are safely stored and easily accessible if your laptop experiences any issues.
Why Choose RockIT Repairs for Your Laptop Needs?
At RockIT Repairs, we specialize in providing expert laptop repair services and upgrades tailored to your needs. Our experienced technicians can diagnose and fix issues quickly, ensuring your laptop gets back to performing at its best. Whether you need a simple screen replacement or a complete internal upgrade, we have the skills and tools to extend your laptop’s lifespan and improve its performance.
Maximize Your Laptop’s Life with RockIT Repairs
By investing in regular repairs, essential upgrades, and preventive maintenance, you can significantly extend the lifespan of your laptop. Whether you’re dealing with a slow system, a malfunctioning screen, or simply want to give your device a performance boost, RockIT Repairs is here to help.
Visit us at our Stafford or Fredericksburg locations today for expert advice and service to keep your laptop running smoothly for years to come. Don’t wait until it’s too late—let RockIT Repairs help you extend your laptop’s life with timely repairs and upgrades